I’ve been using remote servers a lot more now so I figure I should get comfortable with ‘mounting’. This avoids having to copy everything back and forth between the two machines when I feel like working in one over the other. I followed a blog post, and tutorials on a couple of cloud hosting services, specifically digital ocean and linode. They all pretty much say the same thing but its nice to have validation. I have a mac so I’ll describe the steps that I used for an OSX operating system. The digital ocean link describes the set up for Ubuntu and Windows, and the blog post I listed shows the steps if you have a linux machine.
Installing SSHFS
We’re going to use SSHFS, a filesystem client used to connect remote and local machines through an SSH connection. So go ahead and install SSHFS from oxfuse. You’ll need to download both FUSE and SSHFS.
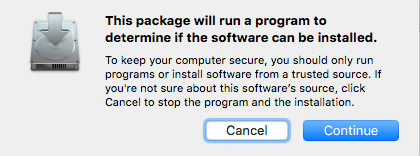
When you install the FUSE package, you might get a pop-up warning you that the package will run a program to determine if the software can be installed. Go ahead and click Continue.
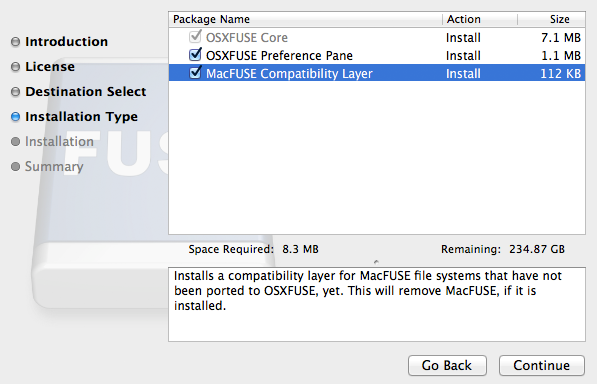
When you get to the ‘Installation Type’ be sure to check all three boxes - including MacFUSE compatibility layer. This is not already checked by default.
Configuring ssh
This step may not be necessary but I was having a bit of trouble without it. In any case, it avoids having to type your password over and over when making the connection to the remote server. So let’s create a pair of public/private ssh-keys
1
ssh-keygen -t rsa
or
1
ssh-keygen -t dsa
I used the former but I’m not sure which is the preferred method. Here is some further reading if you want to look in to it. You can press ENTER all the way through or create (and re-enter) a passphrase.
You’ll be told
1
2
Your identification has been saved in /Users/yourusername/.ssh/id_rsa.
Your public key has been saved in /Users/yourusername/.ssh/id_rsa.pub.
Now we want to send over the public key to the remote server. One way to do it is to type
1
ssh-copy-id -i .ssh/id_rsa.pub yourusername@xx.xx.xxx.xx
where xx.xx.xxx.xx is the remote server’s ip address. You can install ssh-copy-id using homebrew,
1
brew install ssh-copy-id
You should now be able to ssh in to the server without having to type your password.
If you’re interested, here is a bit more on ssh keys.
Mounting the Remote File System
Now that the technicalities are taken care of let’s get on to the actual mouting procedure. Create a directory on your local machine where you want the remote system to be mounted.
1
sudo mkdir /mnt/yourdirectoryname
To mount the remote file system on to your local machine, type in
1
sudo sshfs -o allow_other,defer_permissions,IdentityFile=~/.ssh/id_rsa yourusername@xx.xx.xxx.xx:/ /mnt/yourdirectoryname
You’ll be prompted for your remote server’s password. Now check that your remote file system is in your local mounted directory.
1
cd /mnt/yourdirectoryname
Hopefully you see all the directories and files from your remote machine.
Unmount the Remote File System
When you’re done, go ahead and unmount. Note that the command is umount and NOT unmount. That trips me up every time.
1
sudo umount -f /mnt/yourdirectoryname
And there you go. In this procedure you have to go through the mounting procedure any time you restart either your local or remote machine. Permanently mounting requires modifying your /etc/fstab directory. See the links I refer to in this article.